Posting and Editing property in the Listing Manager
he Listings Management System is a simple and effective way to post and edit your real estate listings any time you like from any computer with Internet Explorer and an Internet connection. Instructions on how to do both are below. It's as easy as 1, 2, 3.
Posting
Listings
(Estimated time to post one
listing with 4
photos once the steps are learned: 10
minutes)
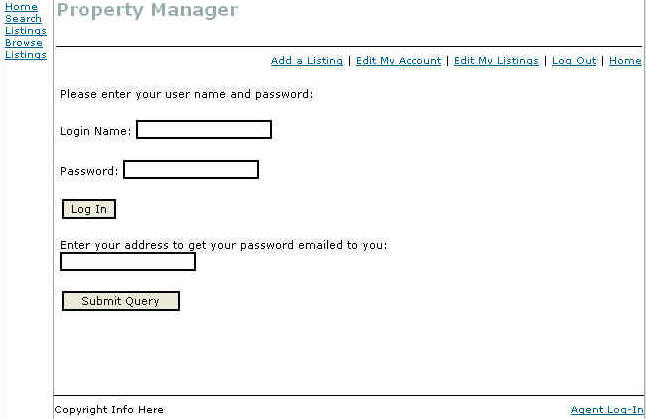
Step 1: Logging in. Click the link at the bottom of any listing manager page that says Agent Log-in.
Your admin section will look like the photo below. To login, enter your Login Name and Password and click on "Log In." If you've forgotten your password, put your email address in the bottom field and click on "Submit Query" to have a new password e-mailed to you (the site will change your password. You can change it to something else once you log-in).
Step 2: The Administrative Area. Once you are logged in, you will be taken to a page that looks like the photo below. It is pretty self explanatory. One note, the "Home" page link takes you to your listing manager's home page that visitors see.
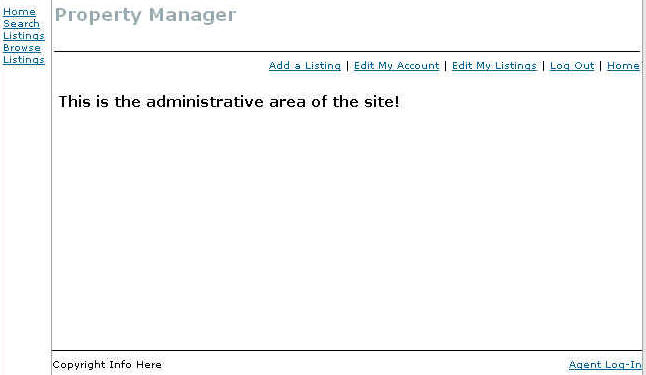
(Admin users will have more links at the
top)
NOTICE
IF YOU CLICK A LINK AND GET LOGGED OUT AND HAVE TO LOG BACK IN YOU NEED TO DO THE FOLLOWING.
You got logged out because you are using an updated computer with advanced security settings. You need to add this site/your site as a trusted site in your web browser settings. Please click here for these instructions.
Step 3: Adding a Listing.
-
Click on

-
On the next page, fill in the boxes that apply. For rental property, you need to enter the rental monthly payment amount in the "Price" field. If the property does not have a MLS number enter "None" in that box.
-
Click the
 button to add the property.
-
Click You may now edit your listing if you want to add photo's, select the property as a featured listing or change the expiration date.
-
To select the property as a Featured Listing click the drop down menu and select yes
 . (Note: This function may not be
available if your site administrator has chosen to control this
feature. If that is the case, contact your site / office
administrator to have them set the listing as a featured listing).
Only 5 listings at a time may be showcased as a featured
listing.
. (Note: This function may not be
available if your site administrator has chosen to control this
feature. If that is the case, contact your site / office
administrator to have them set the listing as a featured listing).
Only 5 listings at a time may be showcased as a featured
listing. -
Change the Expiration date. The default is 180 days and click the
 button at the bottom of the
page.
button at the bottom of the
page. -
On the next page click the Edit Images link to add photo's. (If you do not want to add photos skip to number ).
-
On the next page click the
 button.
 -
Find the file on your disk or hard drive and click it so that it's blue and click
 or OK, then click
 . (Note:
The site will not allow you to upload
oversized pictures. Oversized pictures will cause the site to
operate slow and drive traffic away from the site. If the picture
is larger that needed, the site will resize it. If the picture is
to
large, the site will reject the picture and let you know what the
problem is on the top of the page just above the Edit
Images box).
. (Note:
The site will not allow you to upload
oversized pictures. Oversized pictures will cause the site to
operate slow and drive traffic away from the site. If the picture
is larger that needed, the site will resize it. If the picture is
to
large, the site will reject the picture and let you know what the
problem is on the top of the page just above the Edit
Images box). -
On the next screen select yes for main image, if the image you uploaded will be the main large photo for the property
 .
. -
Rank the image 1-5 according to the order you want the image to show in the list of images. Image 1 will be at the top of the list and image 5 will be at the bottom of the list
 . (If it's the main / large image,
it needs to be ranked 1).
. (If it's the main / large image,
it needs to be ranked 1). -
Enter the Caption text. These are the words that will be on top of the image if a site visitor clicks on the image to view it.

-
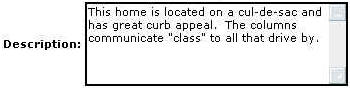
Enter the image Description. These comments will show under the image if a site visitor clicks on the image to view it.
-
The uploaded image will look like photo below. Click the
button to save that photo and
upload the other photos if you have more.

-
You will have to scroll down the page to find the
button again to find and upload
another photo. Repeat steps 8 - 14 to upload other photos.
-
Once you have all photos uploaded you can Preview the listing. Click the Preview button. A new window will pop-up and all the buttons should work except the mortgage calculator, we are working on that
 .
. -
Close that window (preview window) and you can now Log Out or perform other functions in your control panel.
You can always make changes to a listing, edit the status (Active, Pending or Sold), and delete a listing. When deleting a listing, it will also delete all photos that were uploaded for the listing.
End of instructions